Rick’s Portal Gun
I built a functional replica of Rick and Morty’s Portal Gun as a Milieux Institute fellow, integrating 3D modeling, 3D printing, soldering, and Arduino programming into a single working prototype, to explore how imagination, design, and engineering intersect in the maker world.
Project
Milieux Institute Fellowship, Concordia University
Role
Maker + designer + programmer
Tools
Autodesk Fusion · 3D printer · Arduino · soldering
Motivation
Why I built it
When I became a research assistant at Concordia University, I discovered that the Milieux Institute offered undergraduate fellowships to help students explore new technologies. For me, it wasn’t just an opportunity to receive funding, it was a chance to learn by building something ambitious.
I wanted a project that would challenge me to integrate 3D modeling, 3D printing, soldering, and programming into a single creation. That challenge became the foundation for replicating one of the most iconic fictional devices: Rick and Morty’s Portal Gun.
The goal was to bring a piece of fiction to life while exploring how imagination, design, and engineering can intersect in the maker world.
Before this fellowship, I had never worked in a makerspace. The Milieux Make Lab became my entry point – a space filled with people prototyping drones, sensors, and wearables, where experimentation was the norm.
There, I learned that every mistake is progress, and that iteration is the real path to mastery. Those lessons shaped the entire project: learn, test, adjust, repeat.
My mission was clear, build something functional, document each step, and share the process to inspire others, especially young women, to explore creative technology with confidence.

PLANNING
Laying the groundwork
Before starting, I outlined the skills and materials I needed to learn:
- 3D modeling software for design and sizing
- 3D printer setup and calibration
- Soldering and wiring basics
- Arduino hardware and code logic
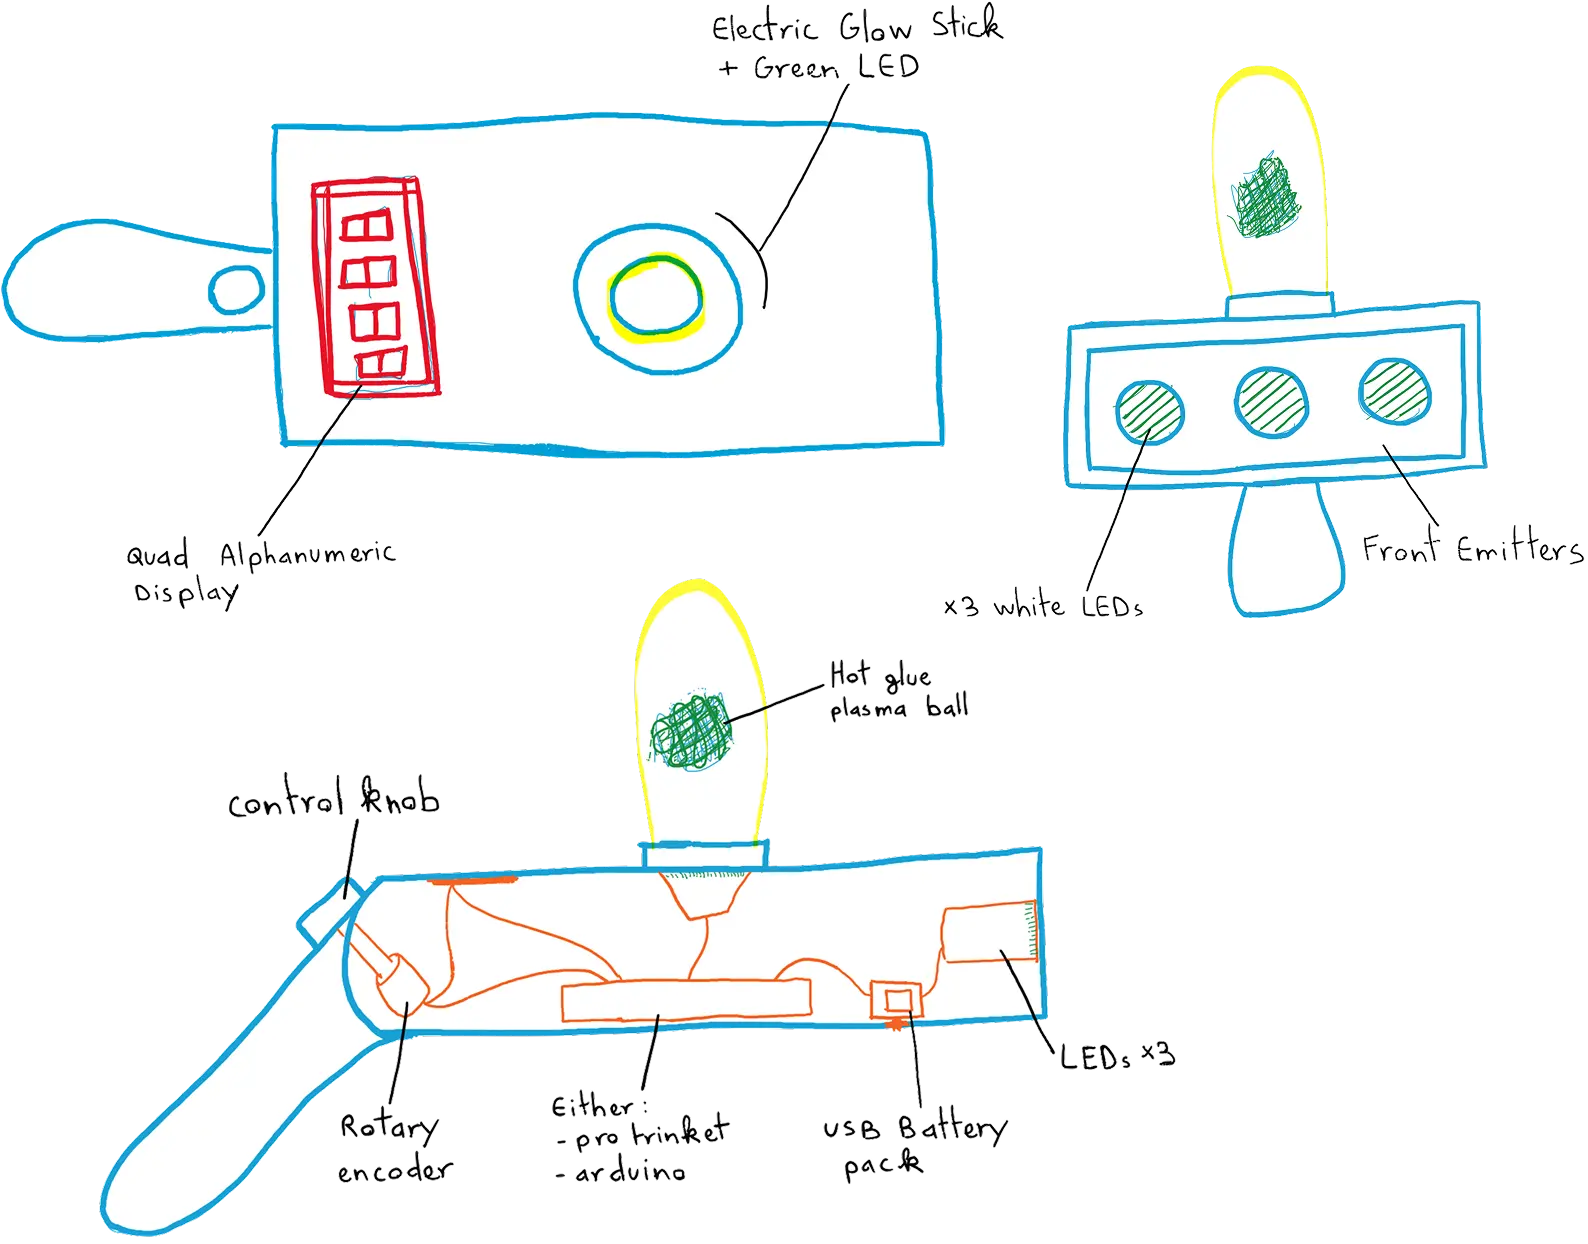
I also produced an initial technical sketch showing how each component would fit inside the gun and how users would interact with it: turning a knob, reading the display, watching the lights respond.
To ground the project, I used a community-sourced 3D model of Rick’s Portal Gun as a base and modified it to match my needs, adjusting proportions, interior space, and port placement.
SKILL DEVELOPMENT
Learning the tools
Before diving into the final prototype, I practiced each technology separately and each micro-skill became a building block for the final integration.
3D modeling
Designed small figurines and objects to learn the software workflow.
3D printing
Helped assemble a 3D printer in the lab, which deepened my understanding of calibration, material behavior, and troubleshooting.
Soldering
Practiced with old circuit parts to develop clean, reliable joins.
Arduino
Followed tutorials to light LEDs, control brightness, and trigger circuits with buttons.
Integration
Bringing it all together
Once confident, I began combining everything I had learned.
I learned to:
- Control an LED display with a rotary knob to simulate switching between dimensions.
- Program the display to show random dimension codes like C137.
- Integrate a USB battery pack so the gun could operate wirelessly.
- Design lighting behavior using LEDs to recreate the portal’s glow.
- Add a personal touch, when powered down, the display shows “RIMA.”
Each part of the gun was 3D-printed in segments and glued together.
Several prints failed midway or warped, forcing reprints and adjustments, valuable lessons in tolerance, iteration, and persistence.
Testing
Testing, troubleshooting, and refining
When all the components came together, testing began, and so did the real learning.
I spent long hours solving small but critical issues: LEDs flickering, timing errors in the display, wires disconnecting during assembly.
To stay organized, I:
- Tested each module individually before integration.
- Used a breadboard to prototype circuits before soldering.
- Managed wiring placement to avoid heat buildup and tangling.
Every adjustment made the system more stable.
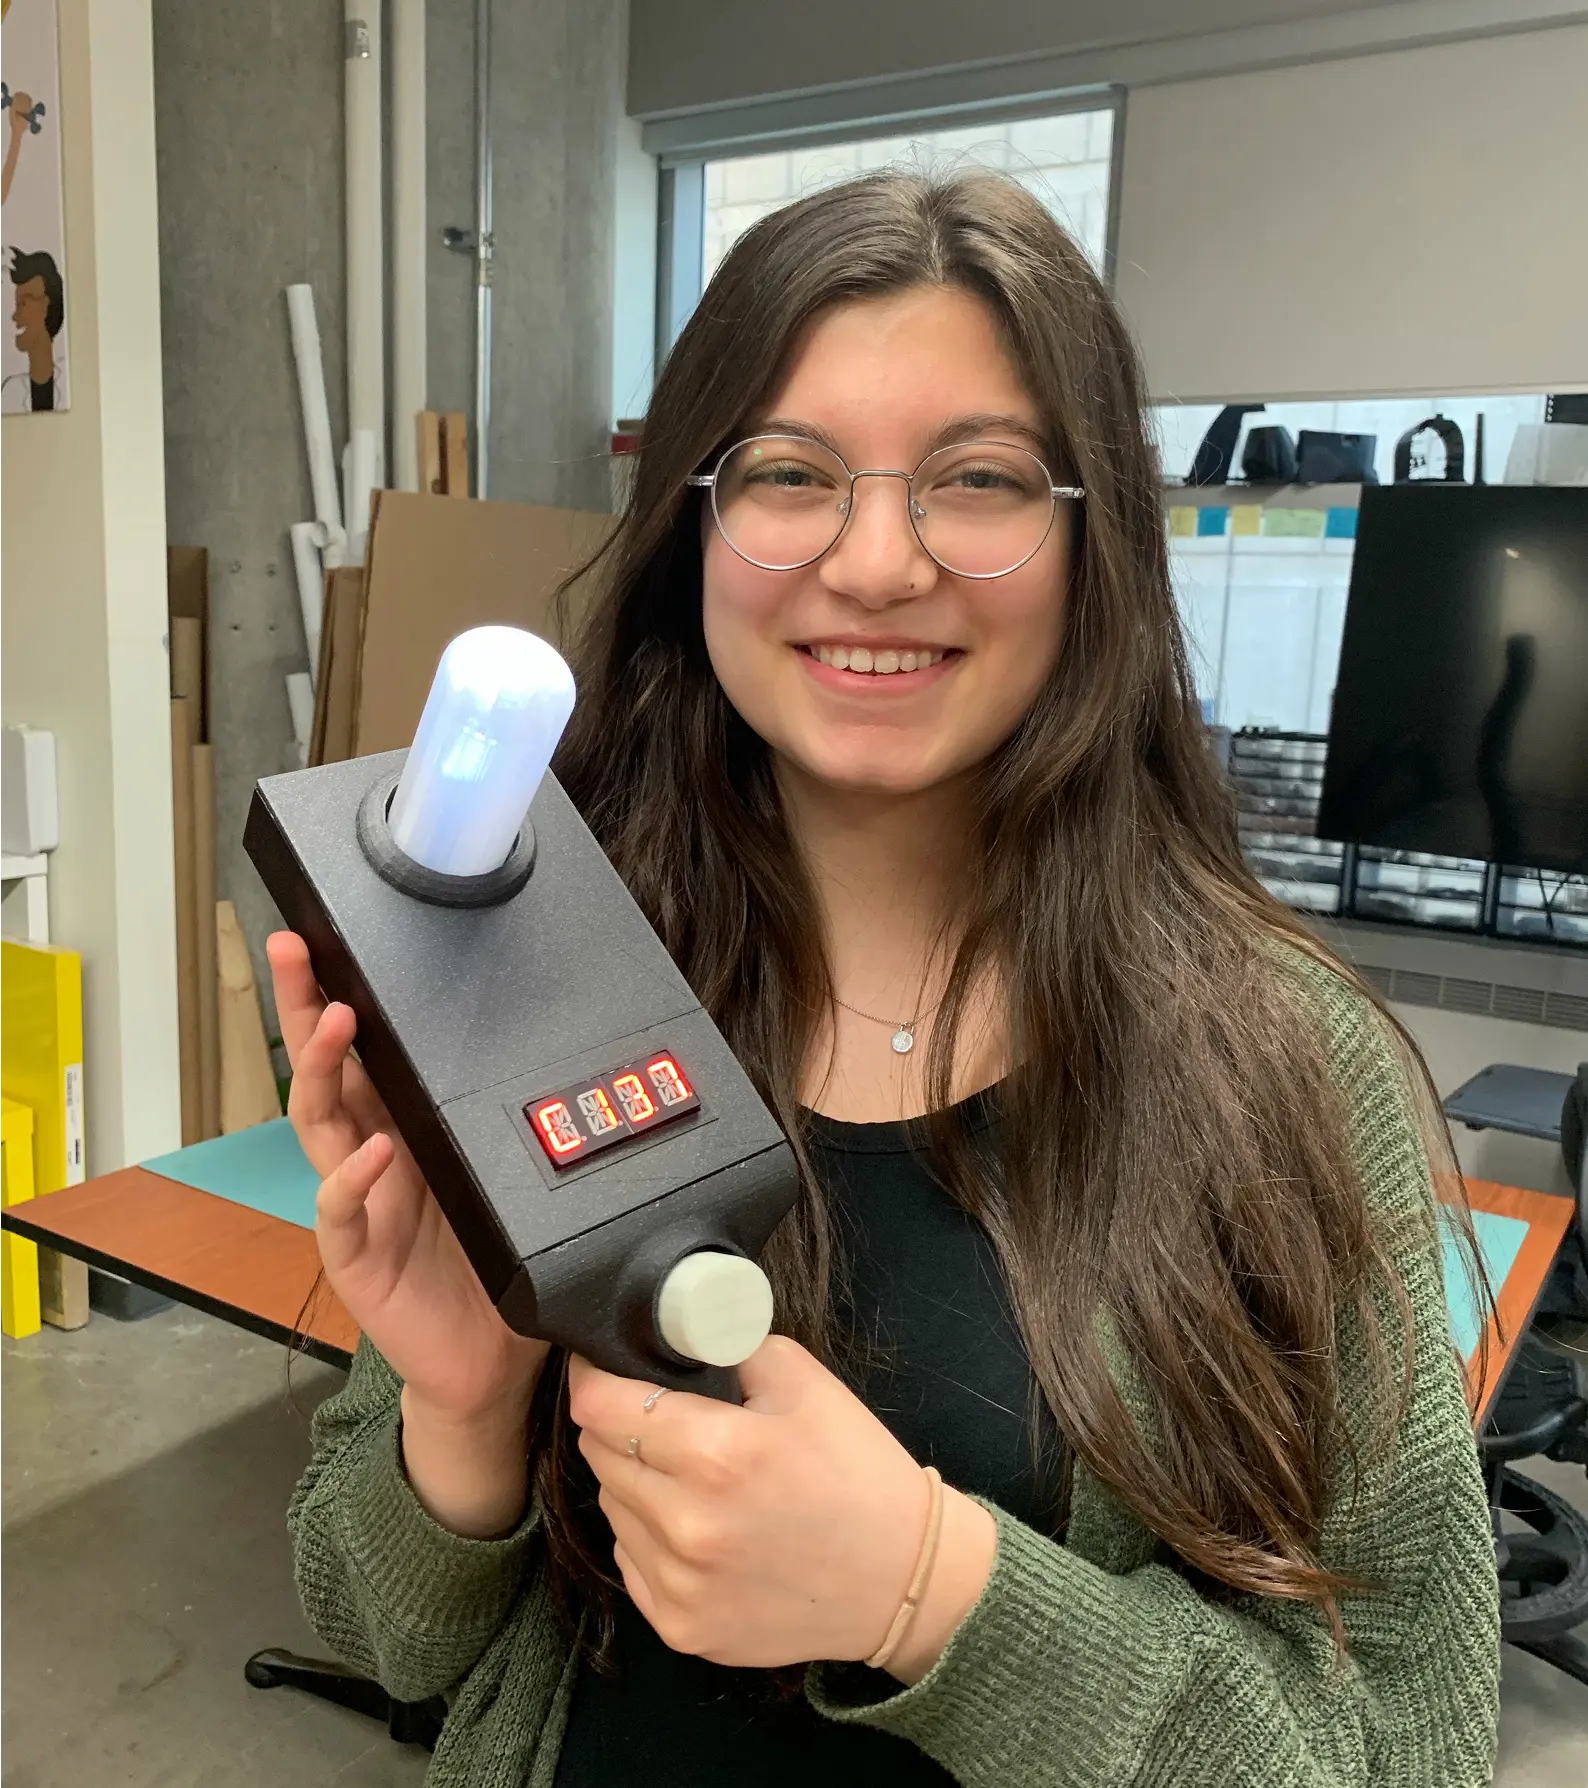
Once the power supply, lights, display, and knob finally worked together, the Portal Gun came to life.
Outcome
The finished build
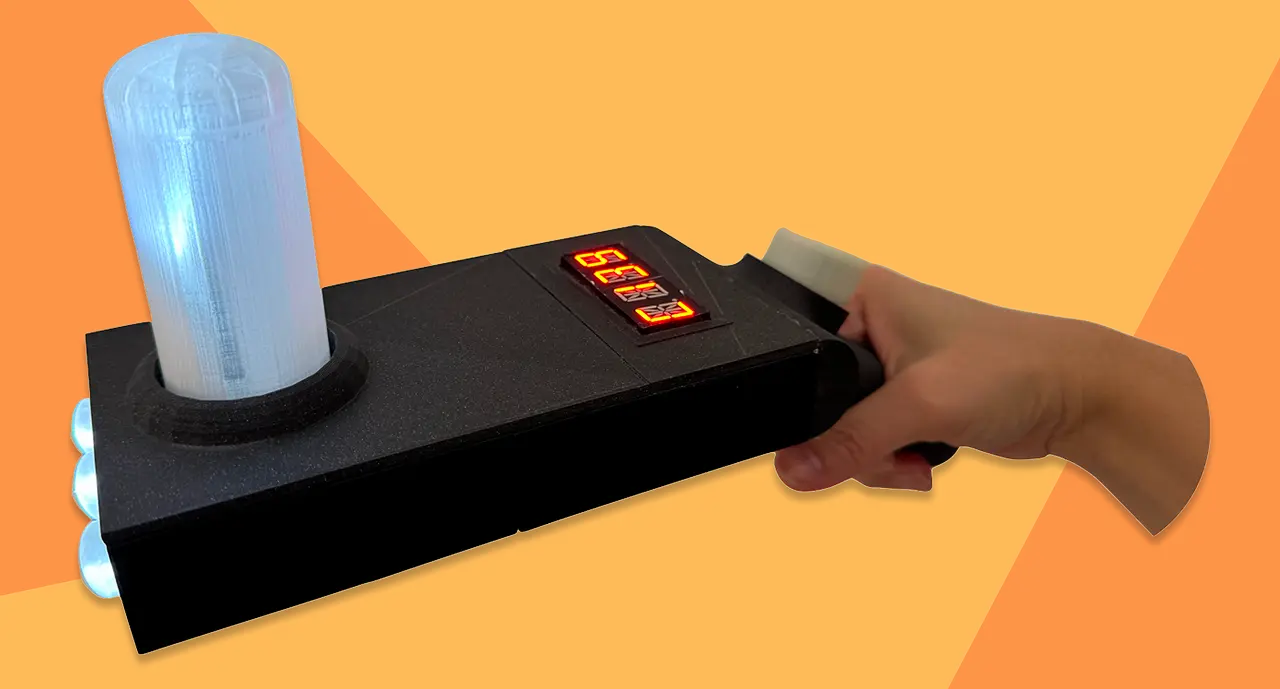
The final Portal Gun:
- Lights up with a white glow
- Displays shifting dimension codes
- Responds to knob rotation
- Runs entirely on a rechargeable battery
- Powers down gracefully with my signature — RIMA
It functions as both a working prototype and a learning artifact, showing how curiosity and experimentation can connect design, code, and fabrication.
KEY LEARNINGS
What this project taught me
This project reshaped my understanding of what it means to make. Every failed print, burnt wire, or code bug became a form of feedback, not a setback.
I learned to slow down, analyze, refine and approach complex problems step by step and to celebrate small milestones along the way.
More than anything, I realized that engineering and creativity thrive together, imagination drives persistence.
Finally, connecting with the online maker community revealed how open and collaborative this field can be. Sharing progress, asking questions, and troubleshooting collectively made the experience more meaningful, and confirmed that learning is strongest when it’s shared.
This project was supported by the Milieux Institute for Arts, Culture and Technology at Concordia University. Special thanks to the Milieux Make Lab mentors and peers for their guidance, and to the online maker community for their generosity and inspiration.